E36 323i suspension rebuild
Do not do this at home, trained professionals at work! Joking aside, a quick lesson for potential DIYers: think long and hard before tackling suspension work. We just completed a full suspension rebuild on a well worn, 182k mile E36 323i at the shop. This included all new dampers and springs, front control arms, tie-rod ends, and most importantly a complete set of bushings at all suspension points. It’s this last part that is tricky for shade tree mechanics.
If you don’t have the right tools, extracting and then pressing in the new bushes is nearly impossible without potentially damaging something or hurting yourself. Not only do we use a hydraulic press, we also have specially designed bushing tools and dies for the job. And despite all that, issues arise (especially on older cars where the bushings have welded themselves into position).
Also, count on having to replace most of the old hardware—nuts, bolts, clips and so on. And occasionally, as in this last case, be prepared to weld or replace suspension arms. At the end of the day, this was a $3500+ job and we didn’t even charge all the hours we spent making things absolutely perfect. (Click on images to enlarge)
The relatively easy part, the front suspension.
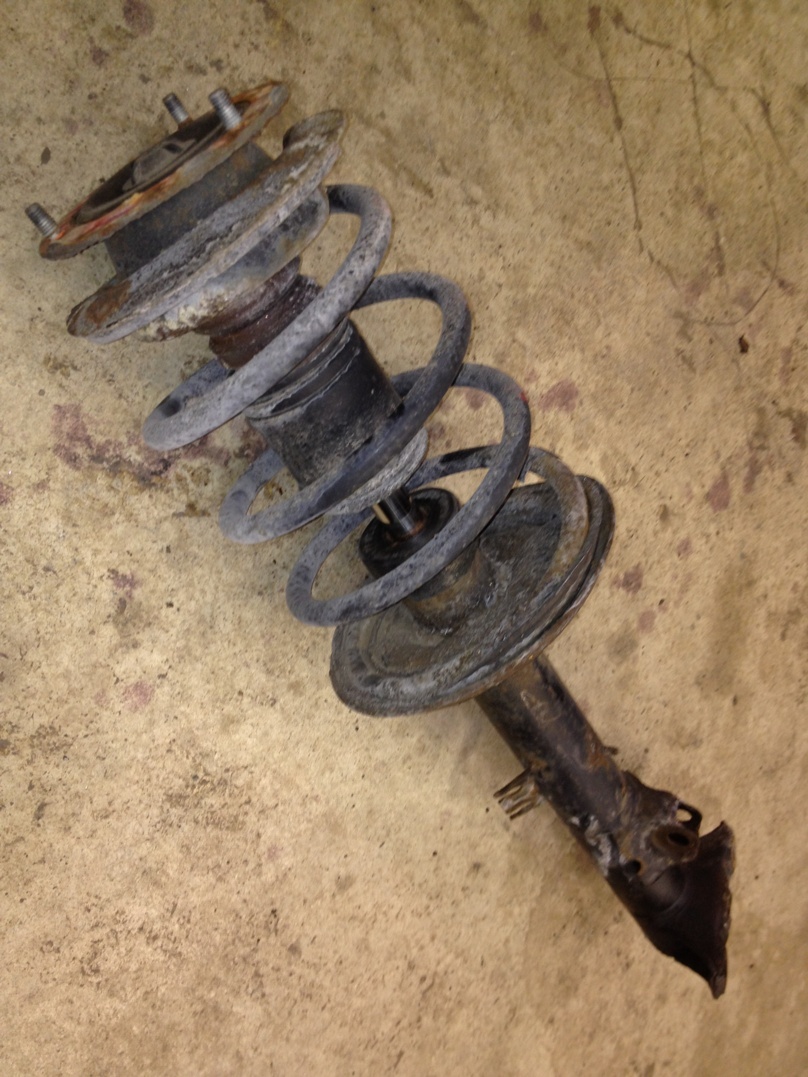
Out with the old front struts, including strut mounts and bearings (the top mount/bearing is something most people forget but is essential to replace when upgrading):
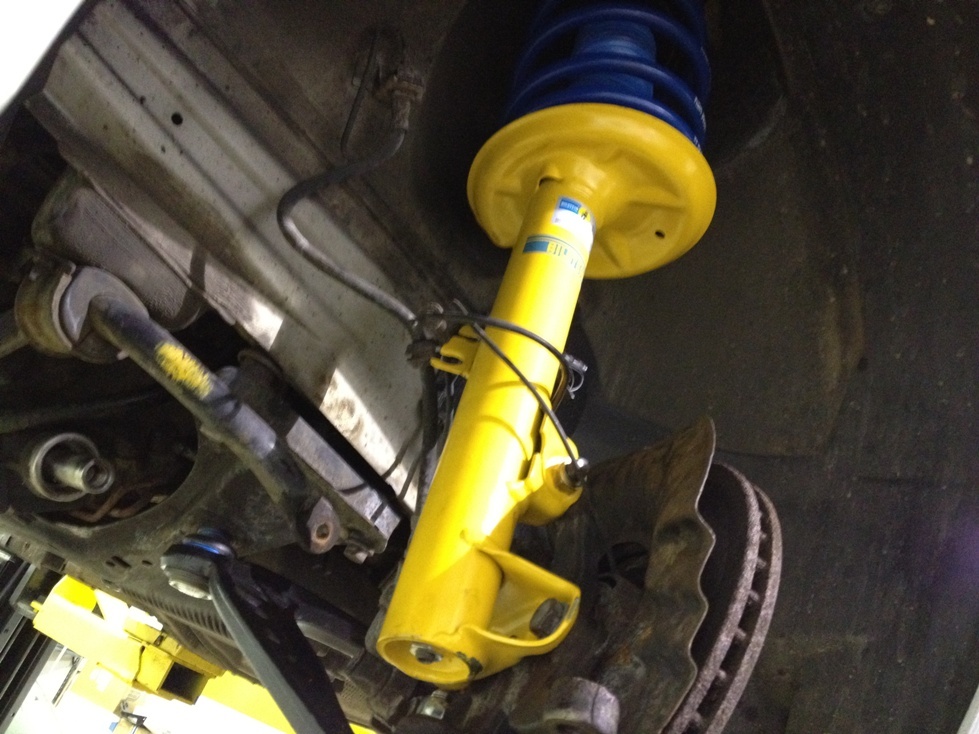
And in with the new strut assembly, in this case a heavy duty damper with H&R lowering springs:
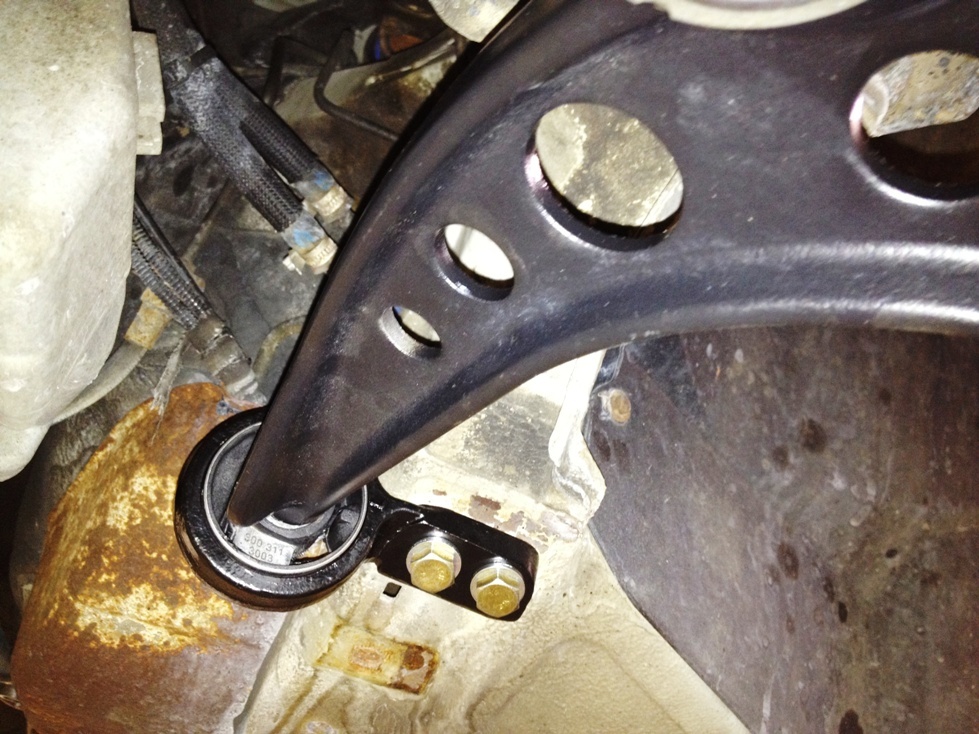
The front lower control arms should be replaced on a regular basis, especially if you go to the track. The only way to replace the pressed in ball joints is to replace the entire arm (joints are not sold seperately). We also replaced the control arm's rear bushing mounts. While we were at the front, we replaced the inner and out tie-rod ends that connect the steering rack to the front hubs:
On to the back and the rear sub-frame
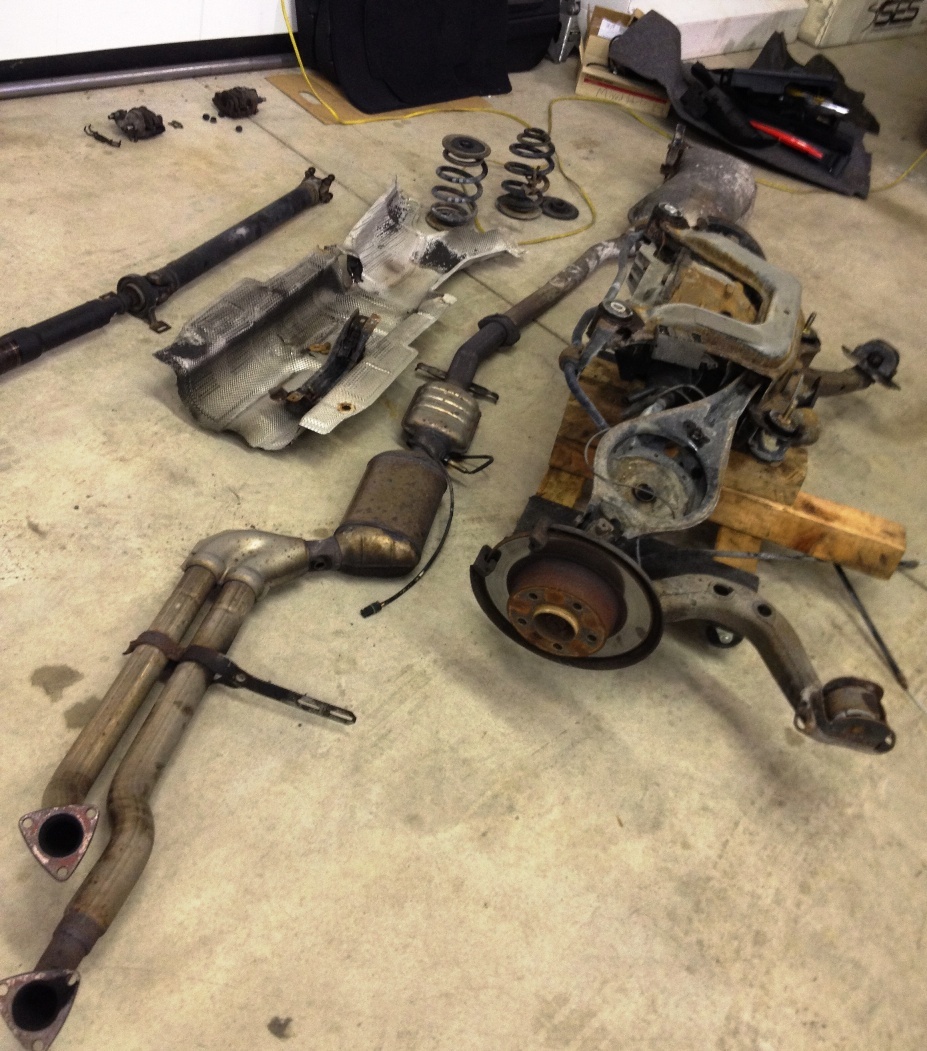
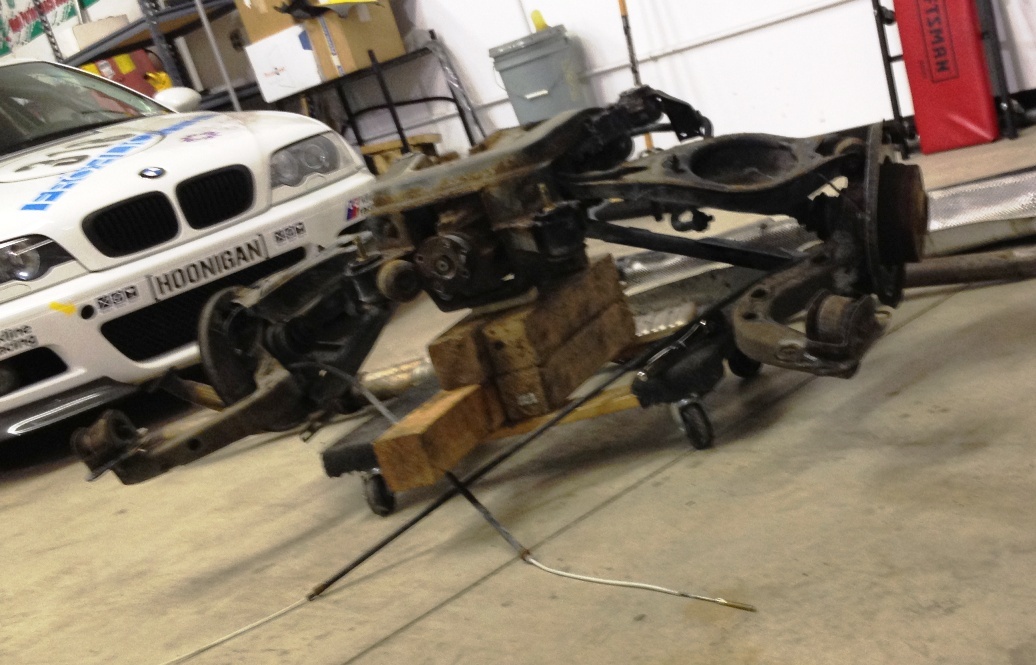
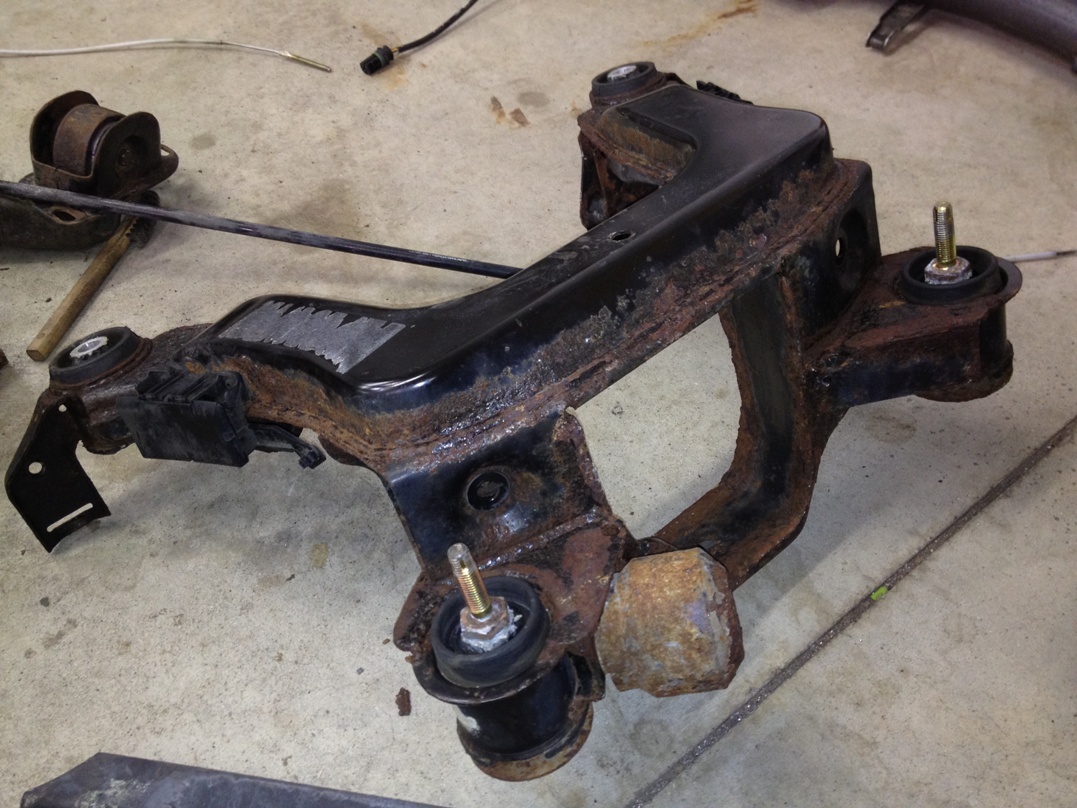
In order to remove the rear subframe you must first remove the exhaust system, heat shields and drive shaft; disconnect the parking brake lines and hydraulic brake lines. Next remove the dampers and springs. Finally the four bolts that hold the sub-frame to the car can be loosened and the entire assembly lowered onto a specially contructed carrier. With the car on a lift, we raise the body and slide out the rear sub-frame and suspension assembly.
When the assembly is out of the car, we can remove the differential and then take off the upper wishbones (where the springs sit) and the lower control arms. Once the arms are removed we can press out the old bushings and press in the new ones. The outer bushings for these arms are located in the rear hub assembly; we use special BMW OEM tools to remove and then install these bushings.
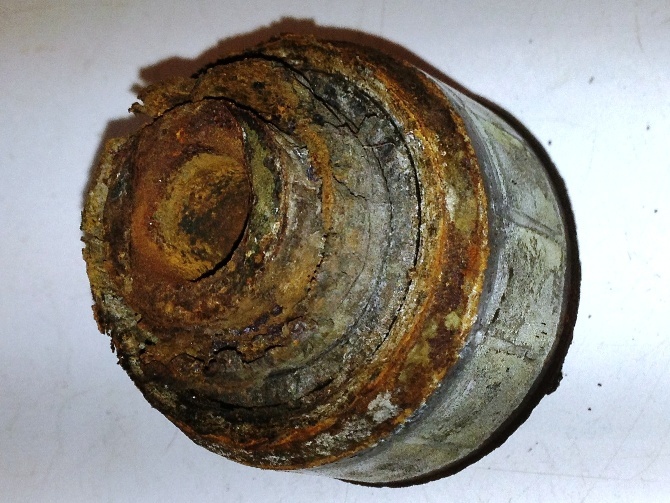
A close up of a 182,000 mile 14 year old bushing:
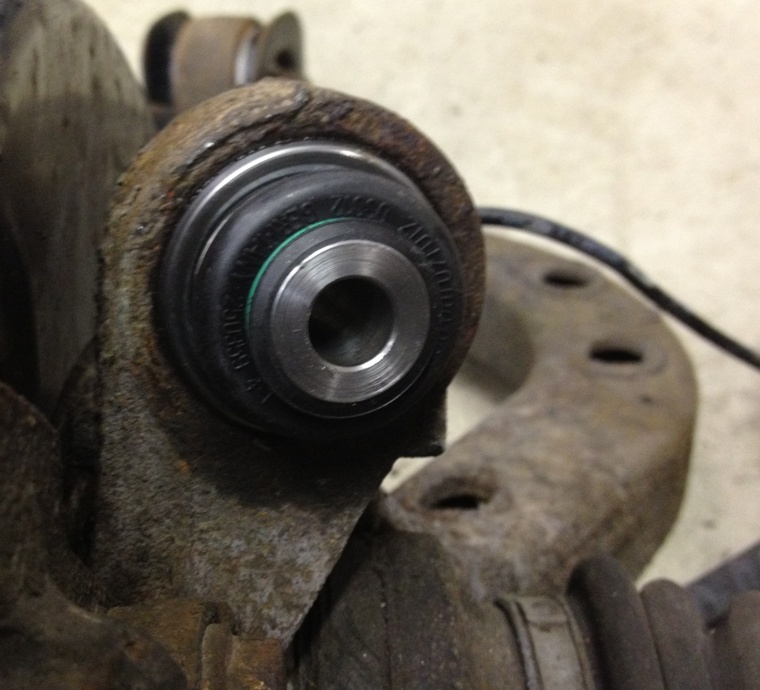
The new ones:
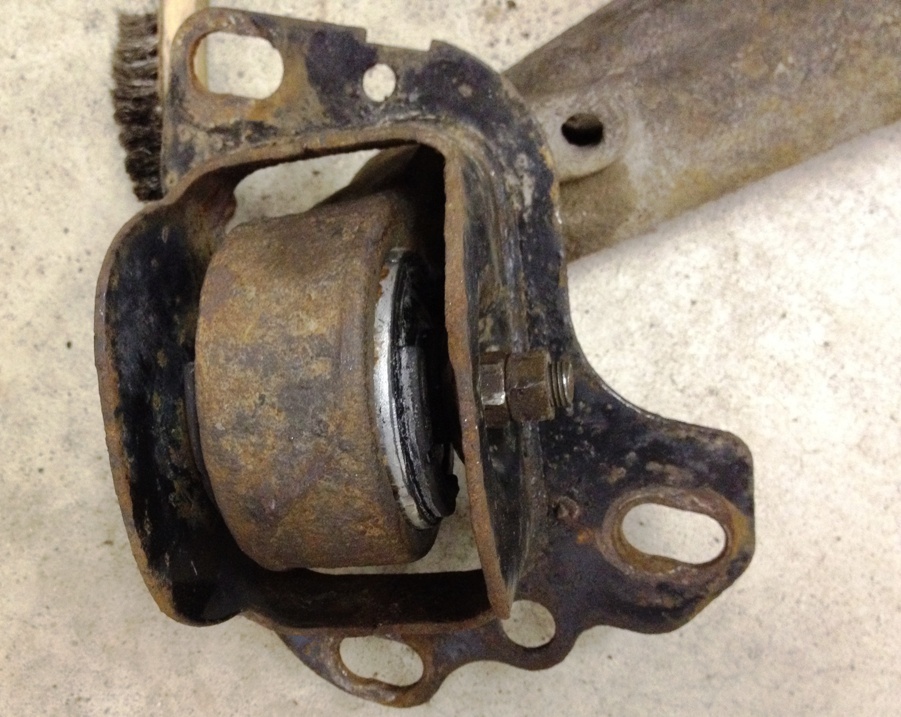
Next up are the four sub-frame bushings and the one differential bushing, all on the sub-frame and all removed and installed with a special BMW tool (a $1500 tool to be exact).
Unfortunately, sometimes you run into parts that have failed and either need to be fixed or replaced. The left side wishbone on this particualr car was cracked in two places:
a href="http://www.vrperformance.com/mt/IMG_1152sm.html" onclick="window.open('http://www.vrperformance.com/mt/IMG_1152sm.html','popup','width=807,height=605,scrollbars=no,resizable=no,toolbar=no,directories=no,location=no,menubar=no,status=no,left=0,top=0'); return false">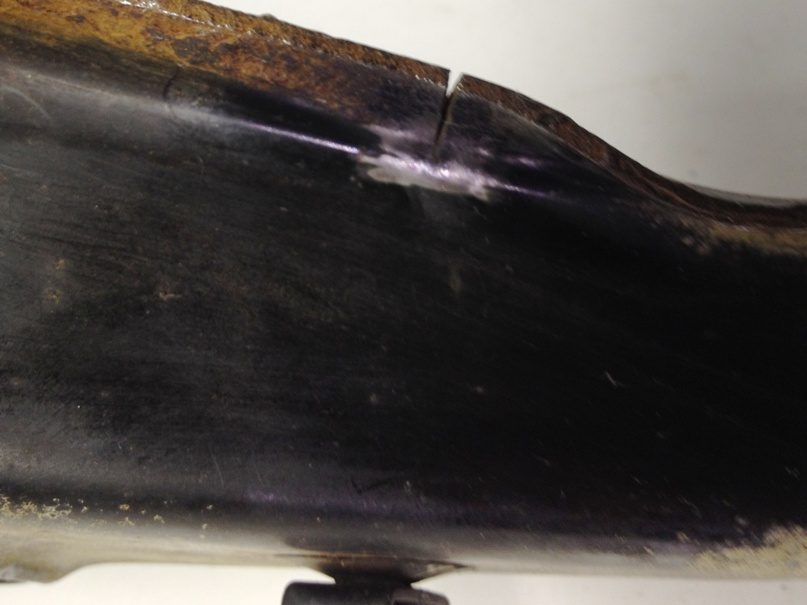
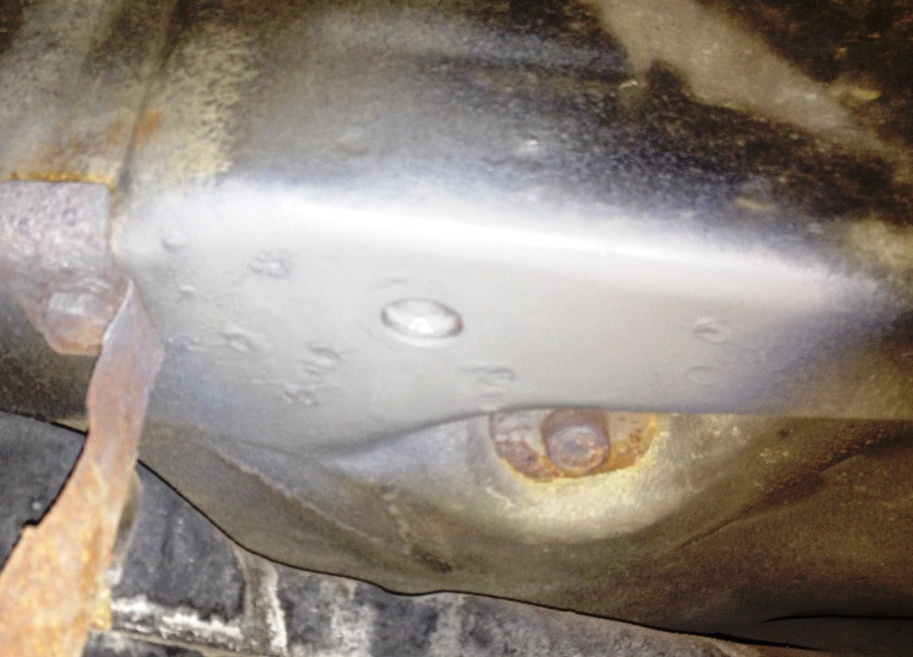
After some prep work at the mounting points of the sub-frame to the body (clean, sand and paint):
Sub-frame and rear suspension is reassembled and mounted back onto the car:
Disassembling, replacing, fixing and reassembling all takes time and money. But the end result is transformative; you end up with not only a car that handles like it is new, but one that is safe again. If you plan on keeping your car or turning it into a track star, this upgrade is essential.
